EZ-Lock Installation

VIDEO INSTALLATION

cara pasang ez-lock atap praktis minimalis

INSTALLATION GUIDELINE

Easy installation to save your installation time.

HOW TO INSTALL EZ-LOCK

This installation guideline gives you step by step instructions for installing EZ-Lock sheet. EZ-Lock sheet is installed above Purlin construction as shown in the picture below.

konstruksi purlin ez-lock panduan pemasangan

COMPONENTS

Components inside the EZ-Lock packaging:

  • EZ-Lock sheet 6 meter (10 pcs)
  • Flashing 6 meter (2 pcs)
  • Aluminium middle bracket (117 pcs)
  • Upper cover (10 pcs)
  • Base cover (10 pcs)
  • Metal screw (156 pcs)
  • Rubber gasket (26 pcs)
  • Warranty card (1 pc)
  • Installation guidelines (1 pc)

The supporting tools and materials you will need for the installation of EZ-Lock:

  • Ladder
  • Rubber hammer
  • Drill and drill bits
  • Roll-meter
  • Sealant (Recommended: OCI N-192)
  • Screwdriver
  • Jigsaw
  • Noise-stop tape (color: white)
  • Hacksaw

INSTALLATION

01 EZ-Lock is installed on the purlin. The recommended distance between purlin is 600 mm or maximum 650 mm, to allow thermal expansion.

Step 1 cara pasang ez-lock dipasang di atas purlin jarak 600 mm

02 The recommended slope for the frame is minimum of 5o to ensure sufficient rain water run off.

step 2 cara pasang ez-lock kemiringan 5 derajat

03 Cover the purlin’s surface which will be in touch with the installation of EZ-Lock with white Noise-stop tape.

cara pasang ez-lock insulation tape peredam suara

04 Measure the required EZ-Lock sheet dimensions in accordance with the purlin using a roll-meter. We recommend measure the middle part prior to the installation, so the trimming results of the sheets at the right-end and left-end will be more equal. Caution: please make sure to only trim the overlapping crest on one side and the lower crest on other side. Remove the masking under the sheet accordingly before installation.

step 4 cara pasang ez-lock ukur dimensi

05 Trim EZ-Lock sheet according to the required size by using a fine toothed jigsaw.

step 5 cara pasang ez-lock potong dengan jigsaw

06 Attach EZ-Lock sheets that has been trimmed to the flashing and secure all sides of the connection by using a rubber hammer.

langkah 6 cara pasang ez-lock pasang ke flashing

07 Drill a few points on the purlin and flashing (based on purlin’s distance) to unite both parts. Then attach the screw and rubber gasket to the hole.

langkah 7 cara pasang ezlock pasang sekrup

08 Install the aluminium middle bracket to EZ-Lock sheet that has been installed.

langkah 8 cara pasang ez-lock pasang bracket

09 Drill the aluminium middle bracket and the purlin. The hole at aluminium middle bracket should be 20% bigger than the screw diameter to give room for thermal expansion.

langkah 9 cara pasang ez-lock bor bracket aluminium tengah

10 Install the screw to the aluminium middle bracket to fasten it to the purlin.

langkah 10 pasang ez-lock pasang sekrup aluminium tengah

11 Combine the following EZ-Lock sheet to the installed EZ-Lock sheet.

langkah 11 cara pasang ez-lock gabungkan lembaran ez-lock

12 Secure all sides of the connection using a rubber hammer until all the connection is fastened.

langkah 12 cara pasang ez-lock kecangkan sisi sambungan dengan palu karet

13 Repeat steps 8-12 to install the rest of EZ-Lock sheet, except for the last EZ-Lock sheet.

14 For the last EZ-Lock sheet, trim the sheet based on the required size on Step 4 with jigsaw and repeat Step 6.

langkah 14 cara pasang ez-lock potong lembaran terakhir

15 After trimming, combine the last EZ-Lock sheet with the rest of the sheets that have been installed and re-tighten all parts of the connection using a rubber hammer.

langkah 15 cara pasang ez-lock gabungkan lembaran

16 Repeat Step 7.

17 Trim the upper and base cover according to the required size with grinder/jigsaw/hacksaw, in order to attach the cover to the edge part between EZ-Lock and flashing. If EZ-Lock coincides with wall, the upper cover is not required, but it must be ensured that the connection to the wall connection uses Sealant OCI N-192.

langkah 17 cara apsang ez-lock potong cover atas dan bawah

18 Insert Sealant OCI N-192 around 3 mm depth inside the cover and install the edge cover that has been trimmed to the edge between EZ-Lock and flashing.

langkah 18 cara apsang ez-lock berikan sealant oci n-192 di dalam cover

19 Install the upper cover and the base cover along the upper and bottom sides of installed EZ-Lock with the use of Sealant OCI N-192.

langkah 19 cara pasang ez-lock pasang cover atas dan bawah

20 Repeat step 17 and 18 to cover the edge on the other end and install the cover with the use of Sealant OCI N-192.

langkah 20 cara pasag ez-lock ulangi langkah 17 dan 18

21 Your EZ-Lock has been successfully installed and removed the EZ-Lock masking directly after the installation.

cara pasang atap praktis ez-lock

EZ-LOCK

INSPIRING INNOVATION AND DISCOVERY

Get complete information about the specifications and features of EZ-Lock.

ez-lock atap plastik bening terbaik pemasangan praktis

EZ-LOCK

Innovative Polycarbonate Roofing Sheet

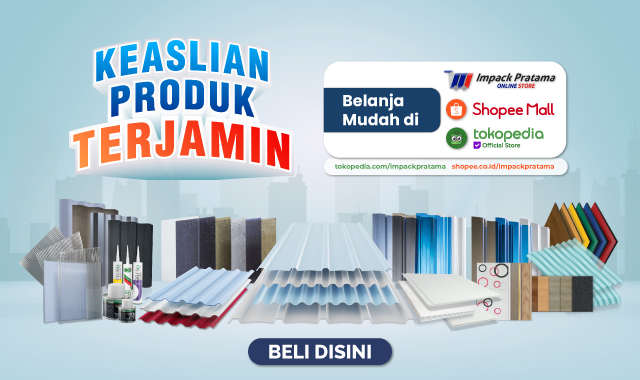
OUR PREMIUM PRODUCTS

SEND INQUIRY

For further information on our products, please simply fill in the form below and our representative will respond to you as soon as possible.